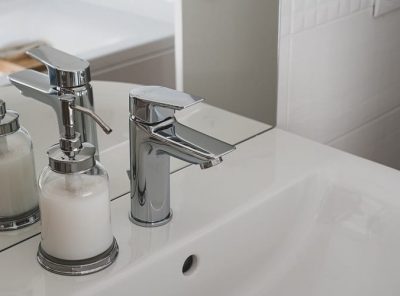
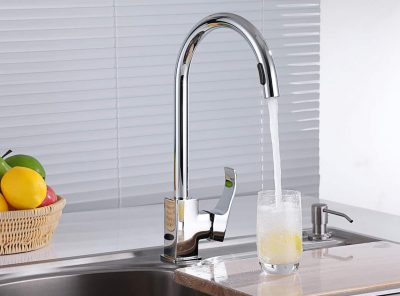
The usage of touchless faucets in public spaces is increasing, and they are becoming increasingly common in households. In the same way that standard faucets may get blocked or leaky, touchless faucets can do the same. Before troubleshooting any touchless faucets, ensure that the standard plumbing equipment is free of obstructions or loose connections. Electrical components like solenoid valves, sensors, or even batteries may be blamed if everything checks up.
If your touchless faucet or touchless kitchen faucet is leaking or doesn’t work, then you need to fix the touchless faucet. Check below the details and you will know how to fix it.
How Does it Work?
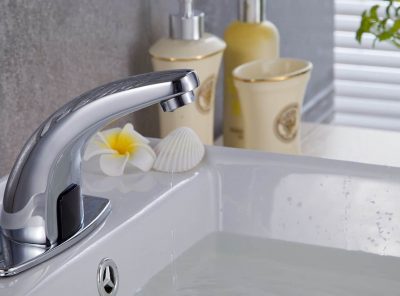
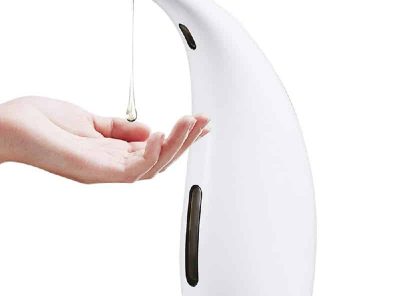
Before introducing the troubleshooting, we’d like to explain how touchless faucets function. It is possible to turn on the water flow without touching the faucet because of infrared sensor technology. An infrared beam is emitted, and the sensor picks up a reflected beam instead of putting your palm directly beneath it. The solenoid valve will open, and the water will flow; when you remove your hand, the sensor will tell the solenoid valve to shut, and the water flow will cease. For more details, you can check our blog here.
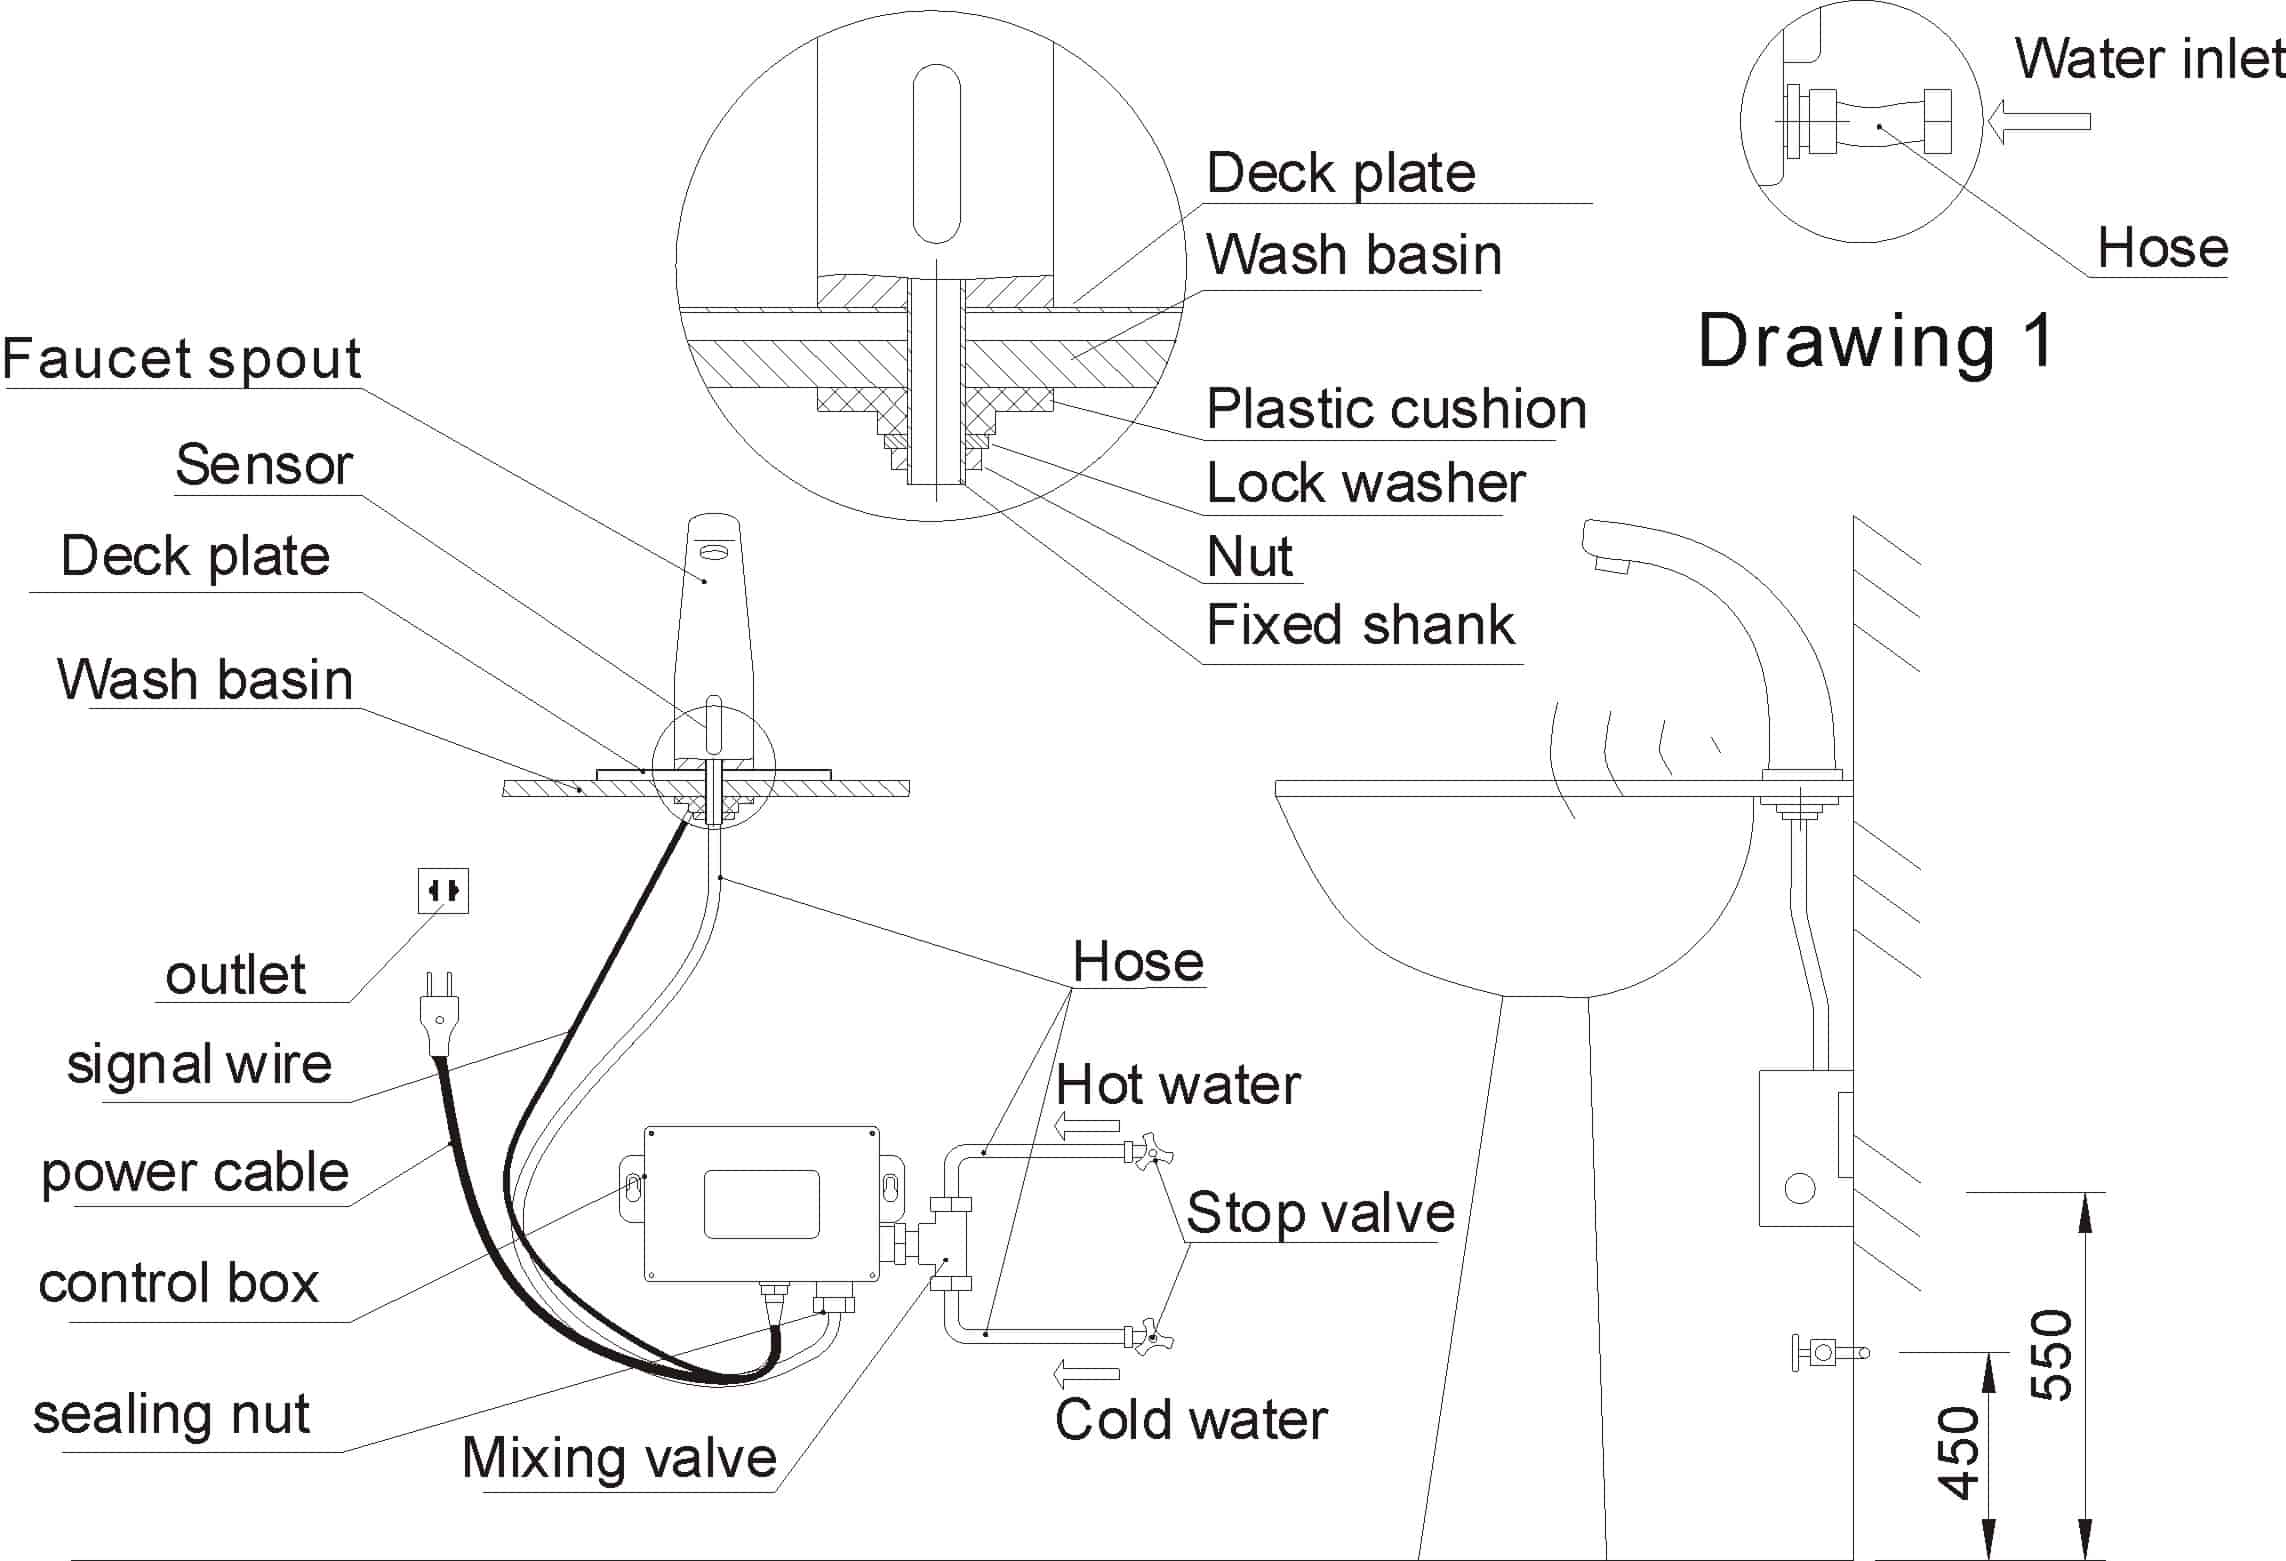
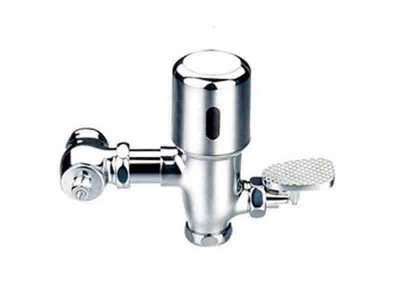
- A solenoid valve controls the flow of water when a presence sensor senses anything underneath it. After a certain amount of time has passed, the solenoid valve is instructed to stop the water flow by the presence sensor. Ultrasonic field sensors may be found on certain more complex faucet types, and when your hands disturb this field, the valve is ordered to open, and the water begins to flow.
- A solenoid-actuated diaphragm valve is often used to initiate and stop the water flow.
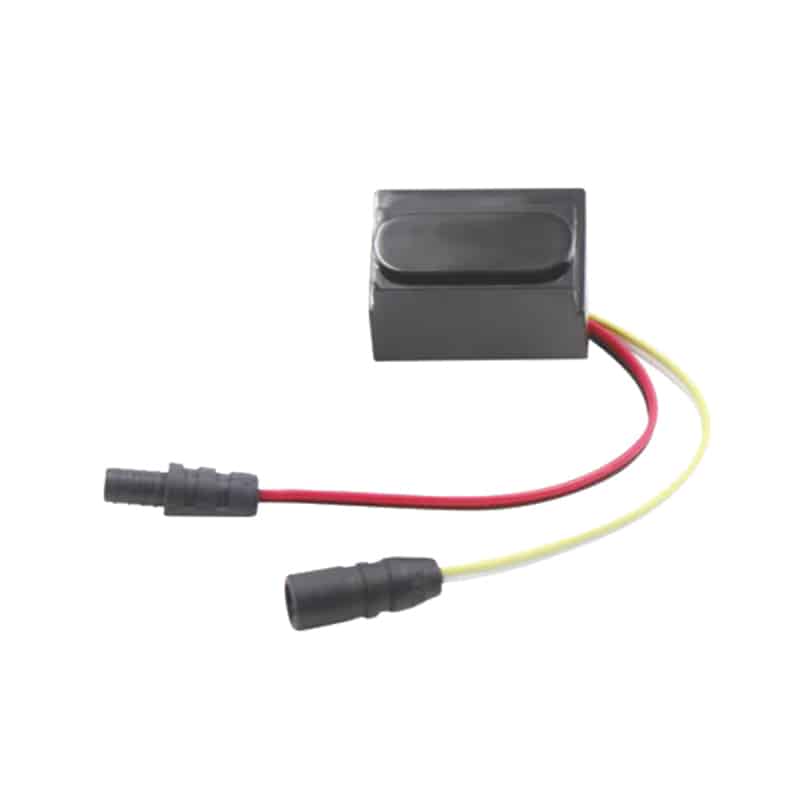
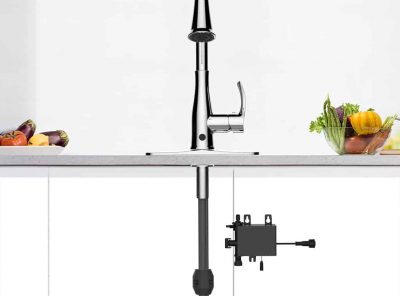
- The presence sensor is connected to the spout by optical fiber wires. After then, the fiber optics transmit the presence sensor’s signals. Some types of faucets are equipped with built-in batteries.
- The sensor, battery, and solenoid valves are connected through a watertight connection.
Check Standard Plumbing First: No Water or Little Troubleshooting
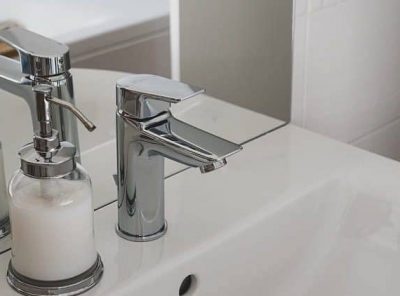
Perform the basic faucet check before concluding that the solenoid valve or sensors are at fault. Check whether the aerator is blocked by removing it and then turning on the faucet to see if any water comes out. Reinstall the aerator after being soaked in vinegar and tested for leaks. If there’s no water after removing the aerator, look for obstructions in your supply hose.
A leaky automatic faucet may be fixed by inspecting the cartridge nut and ensuring it’s not damaged. Next, look for any damage to the rubber seals and washer. The intake hose must be tightened if it seems to be leaking. If all of the pieces are tight and the faucet is still flowing, check to see any obstructions in any of them.
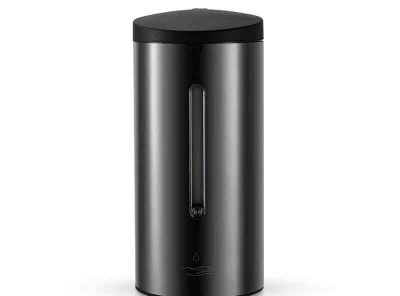
Check Solenoid Valve’s Battery
Even if the standard plumbing components are clean and in excellent working order, the batteries may need to be changed. This feature is available on a variety of faucet models. The light will go off if the faucet is turned off. An LED light blinking yet no water is present, signifies a dead battery. If the battery is low or dead, replacing it should bring the faucet back up to full working order.
Check Solenoid Valve
You may need to check the solenoid valve for dirt if you still have issues after inspecting the regular piping and the batteries. If you detect junk in your valve, turn off the water and gently dismantle the valve. Usually, there is a water filter inside the solenoid valve; pull it out and clean it, paying close attention to how it came away. Remove the debris. Reassemble the solenoid valve once it has been cleaned. It’s time to check out the faucet.
If the valve is precise and the issue persists, it may be time to replace it. Turn off the faucet and remove the line from the solenoid valve, switch the tap on to make sure the faucet is operating properly. A new solenoid may be required if water leaks from the valve.
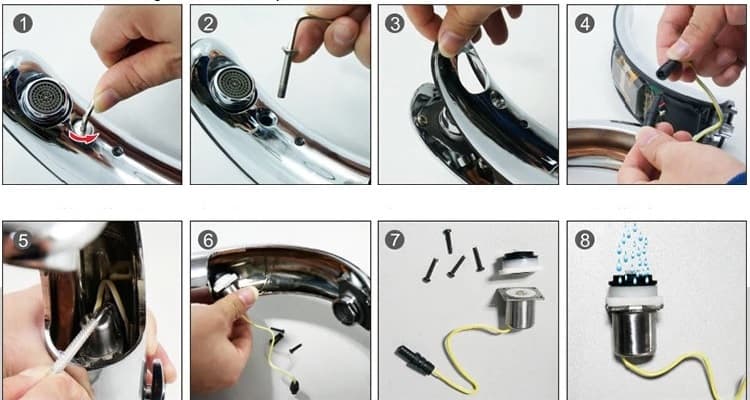
Check Infrared Sensor
The sensor’s primary function is to send signals to the valve to activate the faucet when your hand is detected. However, sensor and solenoid performance will be compromised if the sensor surface is filthy. Please be aware that scratching the sensor can diminish its range and sensitivities, so only use a soft cloth to clean it.
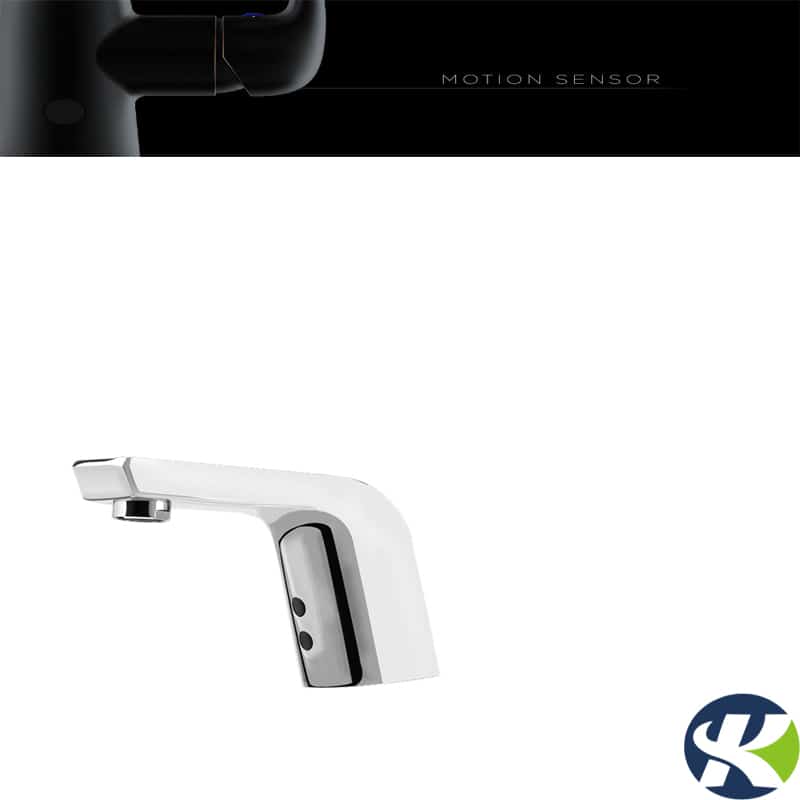
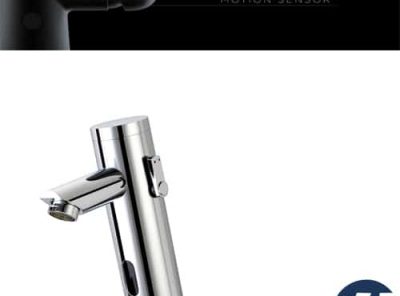
Active infrared sensor for touchless taps
As the most important part, the work of the sensor is to forward the signals to the valve to turn on the faucet after detecting your hand. Its job is to inform the valve when to start or stop the flow based on the presence or absence of your hands. It has either infrared light or ultrasonic sensors. In most cases, infrared light sensors are often placed at the tip of the spout.
The sensor cover is normally made of plastic ABS or EMS material which infrared beams can pass through it. Inside the cover is the PCBA with the circuit that can control the whole program working. Finally, it is sealed with resub potting with a strong moistureproof function.
The sensor range for touchless faucets is between 180mm-380mm. The sensor range and flushing time can be adjusted by a remote controller.
Check Connector Cables
Connecting the sensor to the solenoid valve and power source is made possible thanks to the waterproof connection cables, which act as a bridge. The automatic faucet will not operate correctly if there are any loose or damaged parts. If the automatic faucet isn’t working, reconnect all the watertight cables.


1 thought on “How to Fix Touchless Faucets?”
Comments are closed.